
What are Preppy Nails?
Preppy nails are a trendy and stylish nail art design that originated from the preppy fashion style. The preppy fashion style is known for its clean-cut and polished look, which is reflected in the preppy nail designs. These nails typically feature classic patterns, vibrant colors, and a sophisticated aesthetic.

Why Choose Acrylic Nails?
Acrylic nails are a popular choice for preppy nail designs due to their durability and versatility. Acrylic nails are made by combining a liquid monomer with a powdered polymer to create a strong and long-lasting artificial nail. They can be shaped and customized according to your preferences, making them perfect for achieving preppy nail designs.
Preppy Nail Design Ideas
If you're looking to achieve preppy nails with acrylics, here are some design ideas to inspire you:
- 1. Plaid Pattern: Create a classic and preppy look by painting your acrylic nails with a plaid pattern. Use colors like navy blue, red, and white to achieve a timeless preppy design.
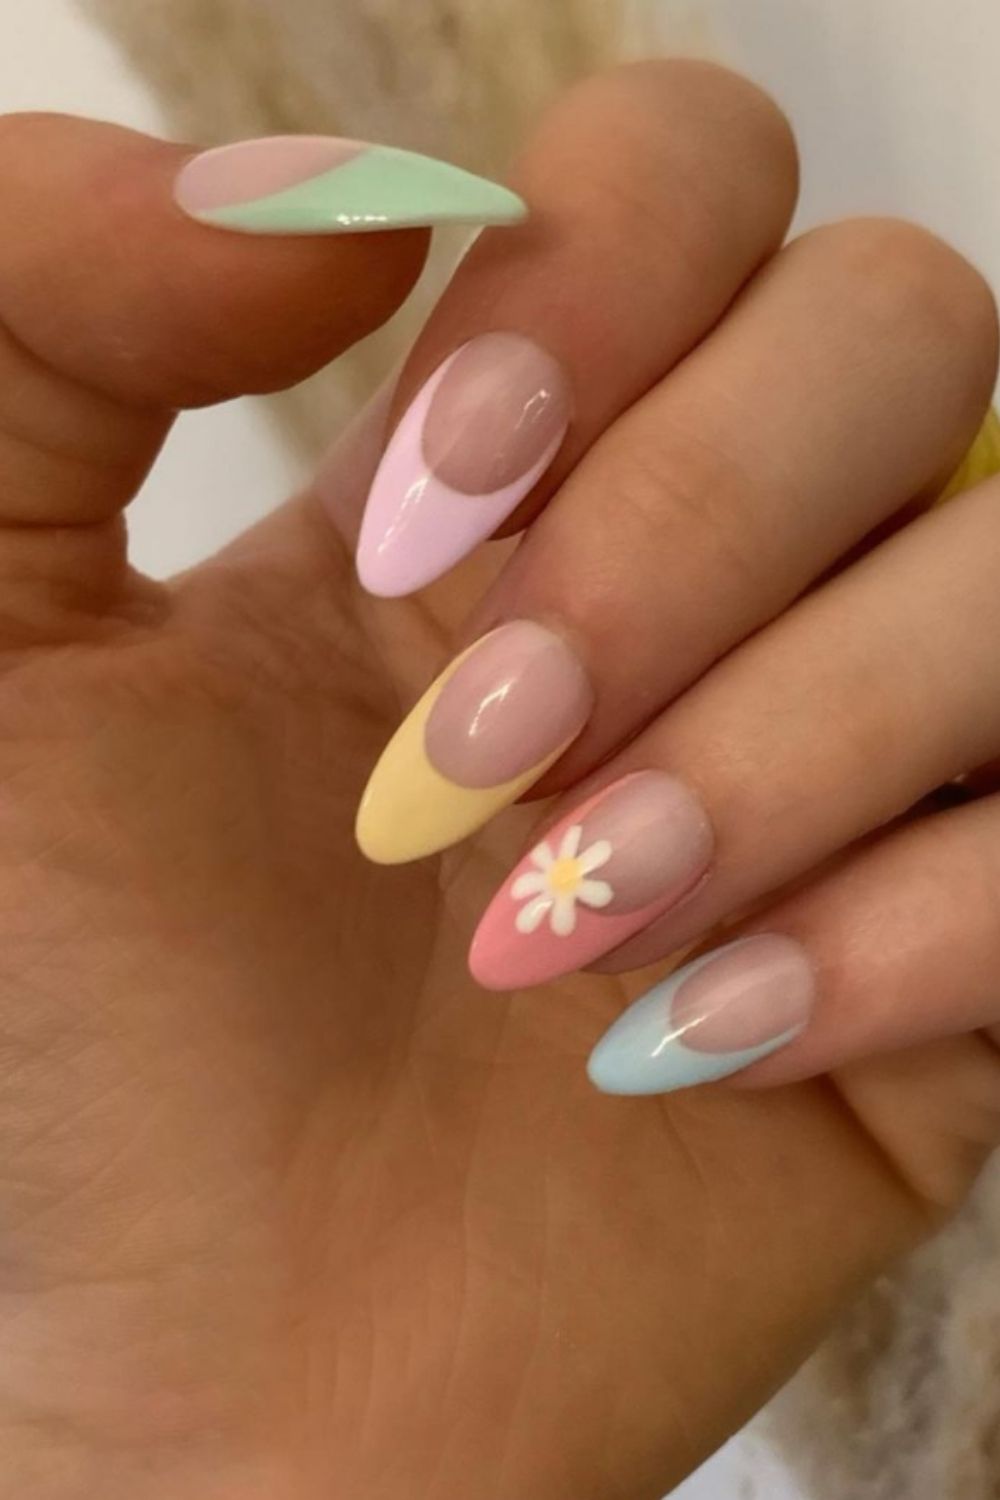
- 2. Stripes: Stripes are a staple in preppy fashion, and you can incorporate them into your nail design as well. Paint thin stripes on your acrylic nails using colors like pastel pink, mint green, and baby blue.
- 3. Polka Dots: Add a playful touch to your preppy nails by painting them with polka dots. Use contrasting colors like black and white or navy blue and pink to create an eye-catching design.
- 4. Anchors: Anchors are a popular symbol in preppy fashion, and they can be a charming addition to your acrylic nails. Paint anchors on a few nails using colors like navy blue and gold for a nautical-inspired preppy look.

How to Achieve Preppy Nails with Acrylics
If you want to achieve preppy nails using acrylics, here's a step-by-step guide:
- Step 1: Prep your nails: Start by cleaning your nails and removing any old nail polish. Trim and shape your natural nails to your desired length.
- Step 2: Apply a base coat: Apply a thin layer of base coat to protect your natural nails and create a smooth surface for the acrylic nails.
- Step 3: Apply the acrylic nails: Follow the instructions on your acrylic nail kit to apply the acrylic nails. Dip the brush into the liquid monomer, then into the powdered polymer, and apply it to your natural nails.
- Step 4: Shape the acrylic nails: Once the acrylic nails have dried, use a file to shape them to your desired length and shape. You can choose between square, oval, or almond-shaped nails.
- Step 5: Paint your preppy design: Use nail polish or nail art pens to paint your desired preppy design on the acrylic nails. Get creative and experiment with different patterns and colors.
- Step 6: Apply a top coat: Finish off your preppy nails by applying a layer of top coat to seal the design and add shine.

Tips for Maintaining Preppy Nails
To keep your preppy nails looking fabulous, here are some tips for maintenance:
- 1. Protect your nails: Wear gloves when doing household chores or tasks that may damage your nails.
- 2. Moisturize your hands and nails: Keep your hands and nails hydrated by regularly applying hand cream or cuticle oil.
- 3. Avoid using your nails as tools: Refrain from using your nails to open cans or scrape off labels to prevent damage.
- 4. Schedule regular fills: Acrylic nails require fills every few weeks to fill in the gap between the natural nail and the acrylic.

Conclusion
Preppy nails with acrylics are a fantastic way to express your sense of style and add a touch of sophistication to your look. Whether you opt for classic patterns like plaid or incorporate playful elements like polka dots, preppy nails are sure to make a statement. By following the steps for achieving preppy nails with acrylics and maintaining them properly, you can enjoy beautiful and trendy nails that will turn heads.
